
As a teacher, I would most decidedly have been the nutty professor type. The students would've loved me and the parents would've wanted me relocated. Innate disorganization would be characteristic "A" because with head full of ideas and bubbling over with enthusiasm for things tactile and experimental, there is little room for sensibility. It's all about the "sense", the feeling your way through! Miss Frizzle would say; "Take chances, make mistakes, get messy!
 Such was the case at my first work shop and now I'm bounding obliviously and ingenuously onward from there.
 Last Friday, on a whim, I strode into our regional parks recreation office to inquire about the deadline for the publication of their fall schedule. The tireless fellow in charge said: "The first draft is on my desk and I'm finalizing for the printers on Monday." Wow, was that great timing, pretty sure it was destiny.
I walked out with a commitment for a one day workshop in October. The facility is amazing with great light a sink and tons of workspace.
Right now, I thought I'd try my shtick out on all of you. Eco-Awesome Handmade Paper is a true success story of today's need to "Reduce, Reuse and Recycle". Inasmuch as we have been begged to try to live paperless, we are still monsoooned with mountains of it on a daily basis. Here is an option to turn swords into plowshares, trash into treasure!
The raw materials are water and a supply of ANY scrap and used paper and other natural or plant based fibers to be shredded or soaked and broken down.
 The Eco-purists list of tools needed would be some screen or mesh, a rolling pin or an empty wine bottle. ( or even better, a full one, then you can celebrate when the spirit moves you. ). To save time and labor I did use a paper shredder and a blender proves most useful. Also needed, lots of containers, tubs, basins or sinks.
 As the instructor, I provided materials for the participants. Oodles of types and colors of used paper were pre-shredded and bagged up for use. I had handmade the screens or deckle and mould sets and brought fabric to blot our new handmade papers. I'm getting ahead of myself though, let's start at the beginning.

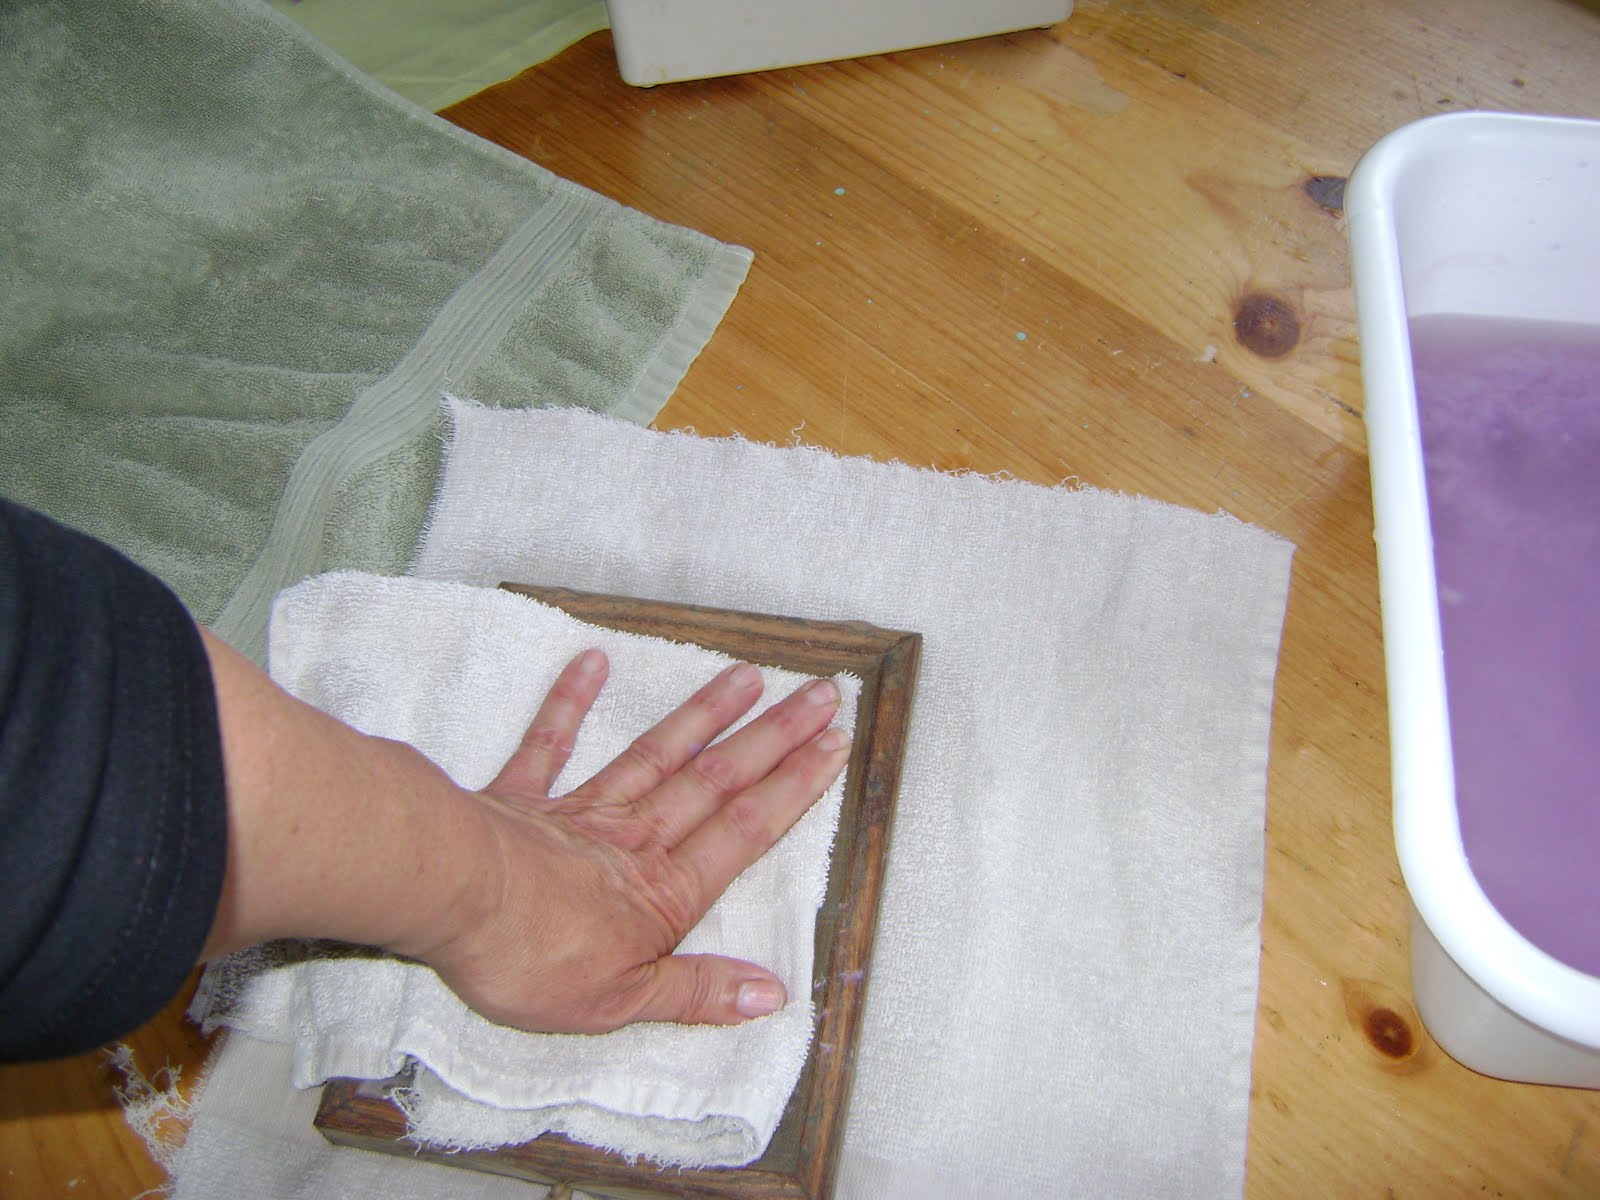
 STEP 1 - Ready your space. Have on hand some shredded paper, several pitchers of water, an assembled blender, a basin or sink ready to receive quantities of blended paper pulp or slurry, deckle and moulds ready nearby a supply of old towels or other absorbent fabric for "couching" or blotting excess water from your new paper and a rolling pin or wine bottle to press out excess water.
 STEP 2 - Pour enough water into a blender to fill it one third of the way. Add a handful of shredded paper and start the blender on low. Gradually increase speed and little additions of paper until you achieve a max speed and the blender running full and efficiently. You will need to feel your way through for the balance of paper, water and blender speed. ( If your paper is intend to be used for writing or painting, now is the time to add three or four teaspoons of liquid starch. This prevents some of the bleeding of ink or paint into the paper fibers. )
 STEP 3 - Fill the basin partway with water then depending on the size of the basin, add 2 or 3 blenders full of slurry. The volume of both combined should be well enough to entirely submerge the deckle and mould. ( The mould or screen is to catch the pulp, the deckle is held on top of the mould to give the paper a nice even edge and keep the slurry from flowing over the side of the mould when you lift the set out of the basin. ) Wiggle it around a bit while submerged to obtain an even layer of pulp all over the screen. Holding the deckle and mould as level as possible, lift them slowly out the basin. tip the set a little, over the sink or basin and allow as much water to drain out as possible.
STEP 4 - When everything stops dripping carefully remove the deckle and flip the mould onto a layer of absorbent material. Blot out as much water as possible with more fabric or a sponge.
STEP 5 - At this point most resources tell you to keep dipping more sheets of paper, adding more slurry as you need it. Then you are asked to stack the couching fabric/new paper layers on the backside of a cookie sheet or cutting board or something flat, then place another of the same on top of the stack. Using sufficient body weight, you press out even more water.
 I just placed more dry absorbent fabric on top and used a rolling pin to really wring it out.
You can keep flipping it, peeling off the wet couching cloth and then rolling it out again between dry ones. When enough water has been removed it will be easy to see that
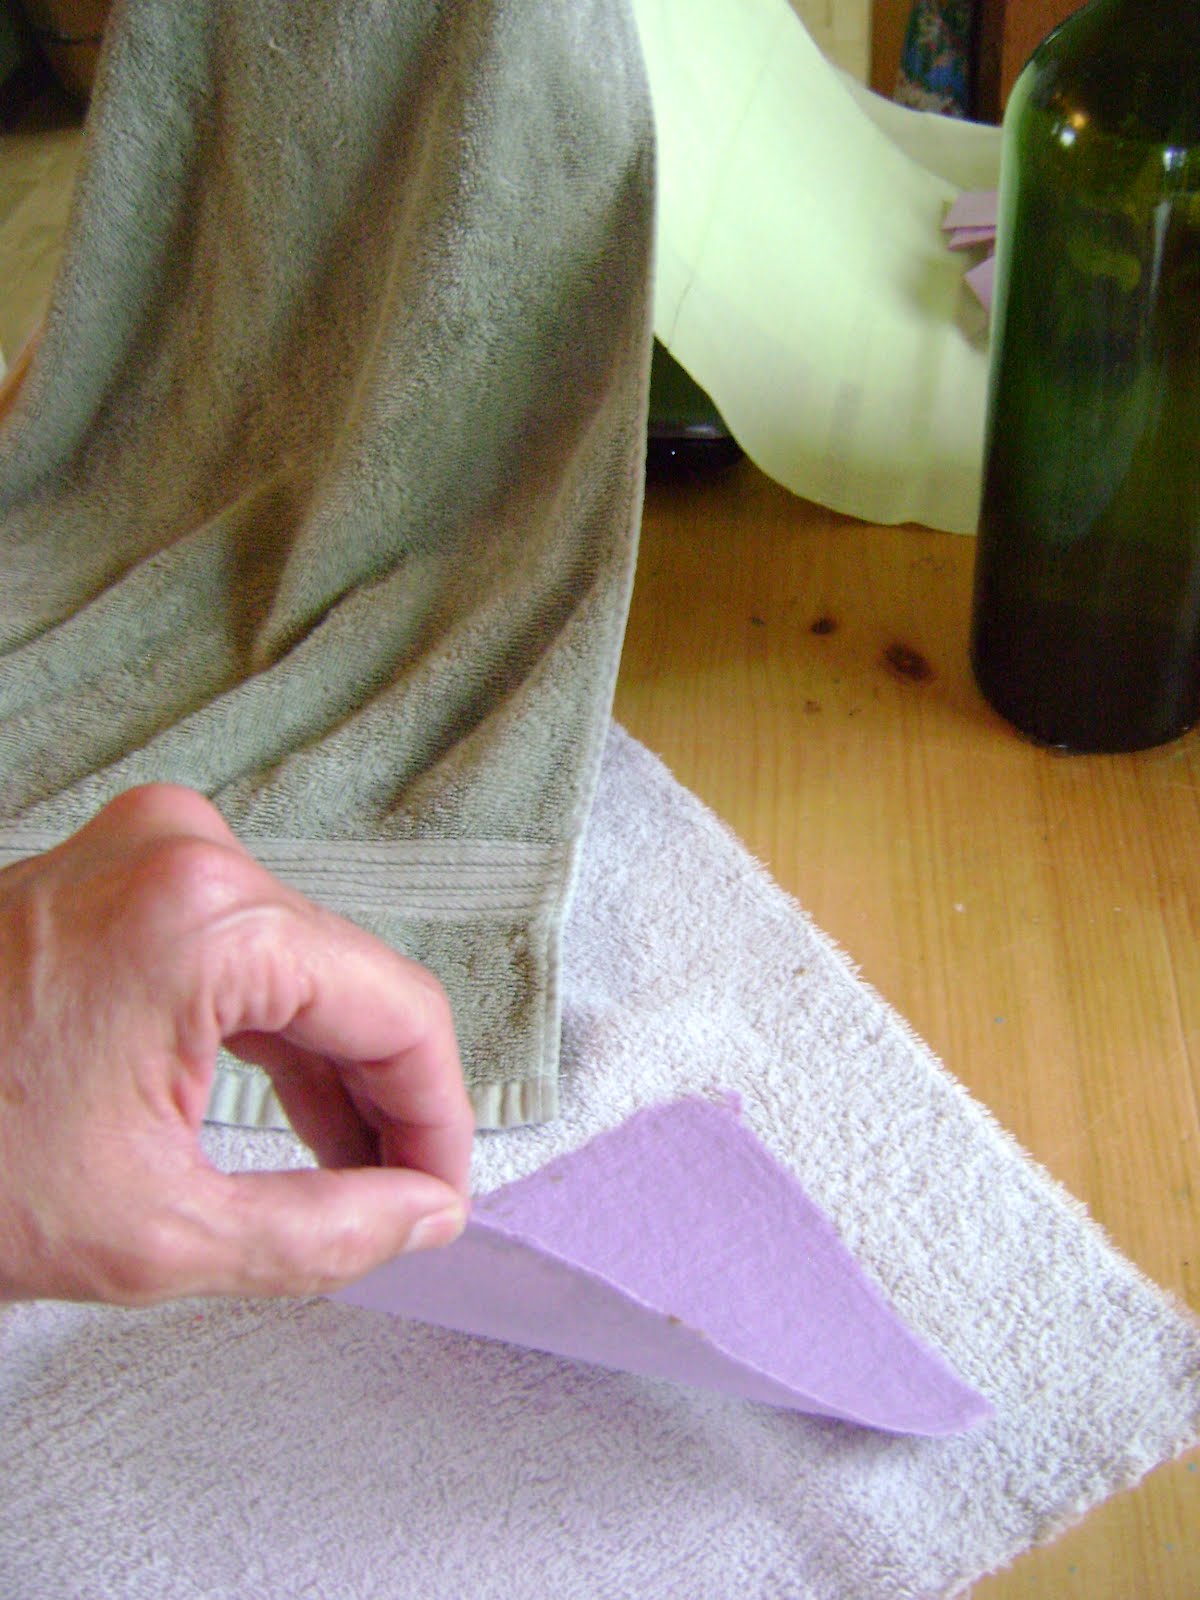 the sheet has become sturdy enough to pick up and move to a flat place to dry.
These instructions will help you create very basic papers. In my next few blogs I will explore variations on the basic plan. I hope those of you following my blog will give it a try and drop a line to share your experiences or ask questions. Happy recycling!!!

No comments:
Post a Comment